3个不稳定版本
| 0.2.0 | 2024年7月11日 |
|---|---|
| 0.1.1 | 2024年7月6日 |
| 0.1.0 | 2024年7月4日 |
#276 in 嵌入式开发
465KB
14K SLoC
LilyGo EPD47 Rust HAL
为LilyGo T5 4.7英寸E-Paper显示屏提供的简单驱动程序。该驱动程序仅支持V2.3硬件版本(ESP32-S3)。
它也应该适用于触摸版本,但我没有必要的硬件来验证这一说法。
此库依赖于alloc,并要求您为PSRAM设置全局分配器。这主要是由于帧缓冲区和lut(约325KB)的空间需求。
警告
这是C库的实验性移植。我移植了基本功能,并尽可能简化了它。我不保证这是硬件的正确用法,使用风险自负!
用法
- 根据此指南准备您的开发需求。
- 创建一个新项目,我建议使用
cargo-generate和由esp-rs提供的模板(即cargo generate esp-rs/esp-template) - 为您的应用程序使用以下模板,并根据您的需求进行调整。
#![no_std]
#![no_main]
extern crate alloc;

use embedded_graphics::{
    prelude::*,
    primitives::{Circle, PrimitiveStyle},
};
use embedded_graphics_core::pixelcolor::{Gray4, GrayColor};
use esp_backtrace as _;
use esp_hal::{
    clock::ClockControl,
    delay::Delay,
    gpio::Io,
    peripherals::Peripherals,
    prelude::*,
    system::SystemControl,
};
use lilygo_epd47::{Display, DrawMode};

#[entry]
fn main() -> ! {
    let peripherals = Peripherals::take();
    let system = SystemControl::new(peripherals.SYSTEM);
    let clocks = ClockControl::boot_defaults(system.clock_control).freeze();
    let delay = Delay::new(&clocks);
    // Create PSRAM allocator
    esp_alloc::psram_allocator!(peripherals.PSRAM, esp_hal::psram);
    // Initialise the display
    let mut display = Display::new(
        Io::new(peripherals.GPIO, peripherals.IO_MUX),
        peripherals.DMA,
        peripherals.LCD_CAM,
        peripherals.RMT,
        &clocks,
    );
    // Turn the display on
    display.power_on();
    delay.delay_millis(10);
    // clear the screen
    display.clear().unwrap();
    // Draw a circle with a 3px wide stroke in the center of the screen
    // TODO: Adapt to your requirements (i.e. draw whatever you want)
    Circle::new(display.bounding_box().center() - Point::new(100, 100), 200)
        .into_styled(PrimitiveStyle::with_stroke(Gray4::BLACK, 3))
        .draw(&mut display)
        .unwrap();
    // Flush the framebuffer to the screen
    display.flush(DrawMode::BlackOnWhite).unwrap();
    // Turn the display of again
    display.power_off();
    // do nothing
    loop {}
}
示例
运行示例,例如 cargo run --release --example <name>。
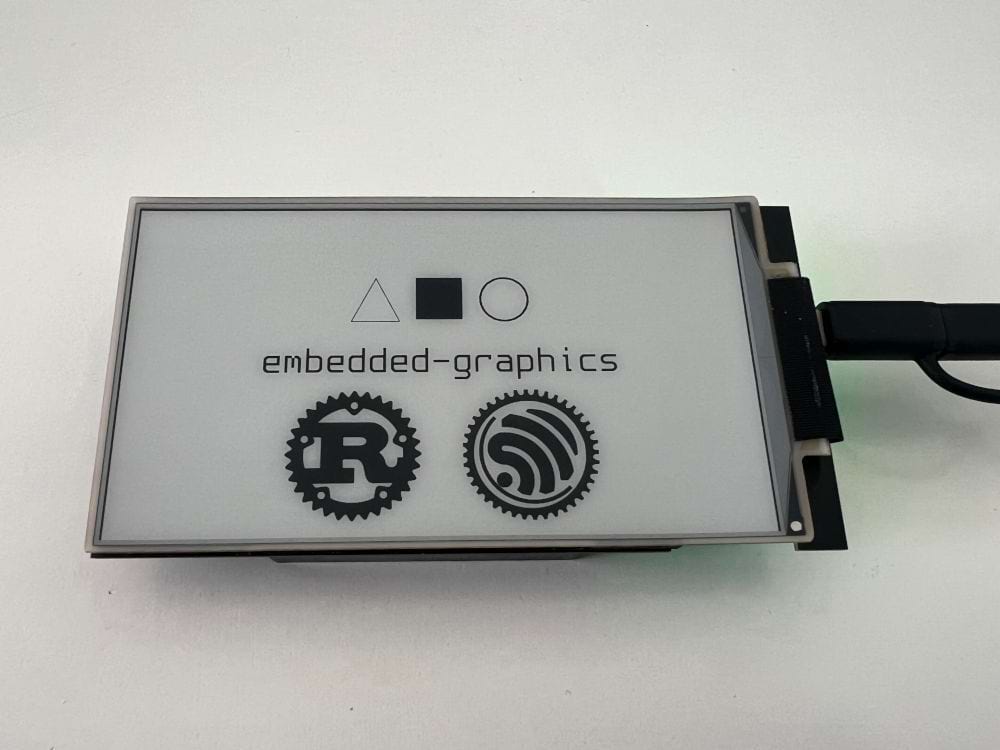
counter- 每秒更新一次的简单计数器。仅部分刷新屏幕grayscale- 在所有可用颜色之间交替的横向/纵向“渐变”循环。你可能注意到较深的颜色较难区分。这可能是由于(尚未)使用波形。hello-world-embedded-graphics示例。使用的 bmp 图像已通过 imagemagick 转换convert<源>.png -size 200x200 -background white -flatten -alpha off -type Grayscale -depth 4 <输出>.bmpscreen-repair- 展示如何使用 lilygo 提供的修复方法 。simple- 约定俗成,与上面的示例相同。deepsleep- 深度睡眠示例。注意:我的板子偶尔会断电,我用 这个修改 来修复它。我使用 Nordic PPKII 测量到深度睡眠时的平均电流为 ~230μA。
待办事项
- 基本示例和文档
- 与原始实现比较性能
- 实现波形/LUT
致谢
本项目的很大部分基于以下提供的 C 实现:
许可证
除非另有说明,提供的代码是在 GNU 通用公共许可证 v3.0 的条款下授权的。
依赖项
~19MB
~354K SLoC