11 个版本
使用旧版 Rust 2015
| 0.2.1 | 2018 年 5 月 28 日 |
|---|---|
| 0.2.0 | 2018 年 5 月 15 日 |
| 0.1.8 | 2016 年 11 月 20 日 |
| 0.1.6 | 2016 年 10 月 17 日 |
| 0.1.0 | 2016 年 7 月 31 日 |
#451 in 机器学习
59KB
1.5K SLoC
Rust NEAT
![]()
![]()
拓扑结构增加的神经进化 NEAT 的实现 http://nn.cs.utexas.edu/downloads/papers/stanley.ec02.pdf
此实现使用 连续时间循环神经网络 (CTRNN) (Yamauchi and Beer, 1994)。

运行测试
为了加快测试速度,请使用 --release 运行它们(XOR 分类/简单示例应少于 1 分钟)
cargotest --release
运行示例
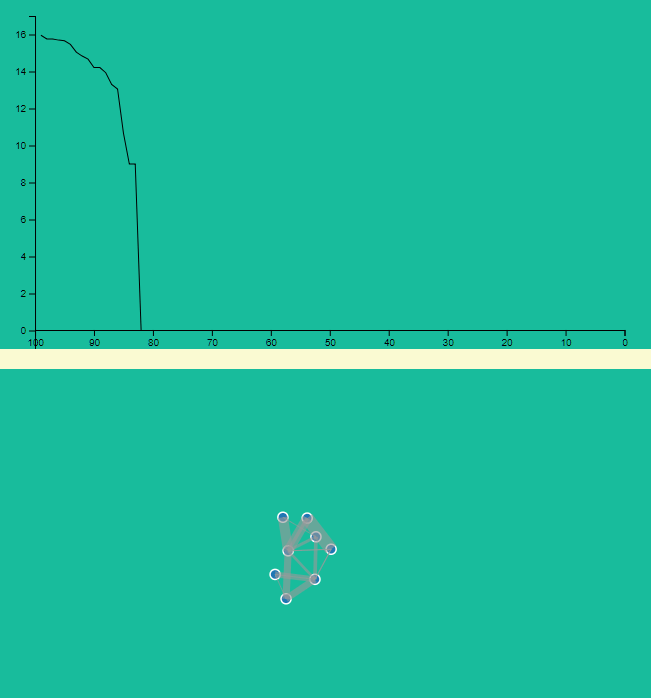
cargorun --release --examplesimple_sample --功能=遥测
然后访问 https://:3000 以查看神经网络如何进化
示例用法
创建新的 cargo 项目
将 rustneat 添加到 Cargo.toml
[dependencies]
rustneat = "0.1.5"
然后使用库,例如,要实现上述示例,请按如下方式使用库
extern crate rustneat;
use rustneat::Environment;
use rustneat::Organism;
use rustneat::Population;

struct XORClassification;

impl Environment for XORClassification {
    fn test(&self, organism: &mut Organism) -> f64 {
        let mut output = vec![0f64];
        let mut distance: f64;
        organism.activate(&vec![0f64, 0f64], &mut output);
        distance = (0f64 - output[0]).abs();
        organism.activate(&vec![0f64, 1f64], &mut output);
        distance += (1f64 - output[0]).abs();
        organism.activate(&vec![1f64, 0f64], &mut output);
        distance += (1f64 - output[0]).abs();
        organism.activate(&vec![1f64, 1f64], &mut output);
        distance += (0f64 - output[0]).abs();
        (4f64 - distance).powi(2)
    }
}

fn main() {
    let mut population = Population::create_population(150);
    let mut environment = XORClassification;
    let mut champion: Option<Organism> = None;
    while champion.is_none() {
        population.evolve();
        population.evaluate_in(&mut environment);
        for organism in &population.get_organisms() {
            if organism.fitness > 15.9f64 {
                champion = Some(organism.clone());
            }
        }
    }
    println!("{:?}", champion.unwrap().genome);
}
开发
使用以下命令检查代码风格指南
rustup component add rustfmt-preview cargo fmt -- --write-mode=diff
感谢
感谢 Noun Project 上的 Delwar Hossain 提供的图标 nerves
依赖关系
~1.3–4MB
~77K SLoC